
And if you want to create your own background or do something similar, hopefully this will help! (Totes copyrighting the leaves though, soz). It's actually much easier than you would think and it's not super restrictive, which is why I didn't opt for a collage feed. I actually vaguely followed this tutorial that I found by googling, but as that's actually for a collage feed I had to adapt it for what I wanted. Here's what I did:


1: Create a blank canvas in Photoshop, 3000 pixels wide by 5000 pixels high. And decorate it with whatever you want to be in your background! I went with leaves because it fits my general style and aesthetic and I just bloomin' love plants. (To note, if you want to see where each photo will sit, you can add grid lines - you can see how to do this in the tutorial I linked above.)
2: Save your background as separate images. First, you need to slice your background into separate images - select the slice tool and make the settings 1000x1000 pixels. To create a slice, click in the top left corner of each square. You should end up with 15 slices. When saving you need to select save for web then when the options box comes up select save again and make sure you're saving images only, which should be the default setting anyway.
3: Airdrop the images to your phone. The images will appear separately on your camera roll; mine usually go on in the opposite order you'd want to use them in so make sure you use them in the right order otherwise they most definitely won't match up!
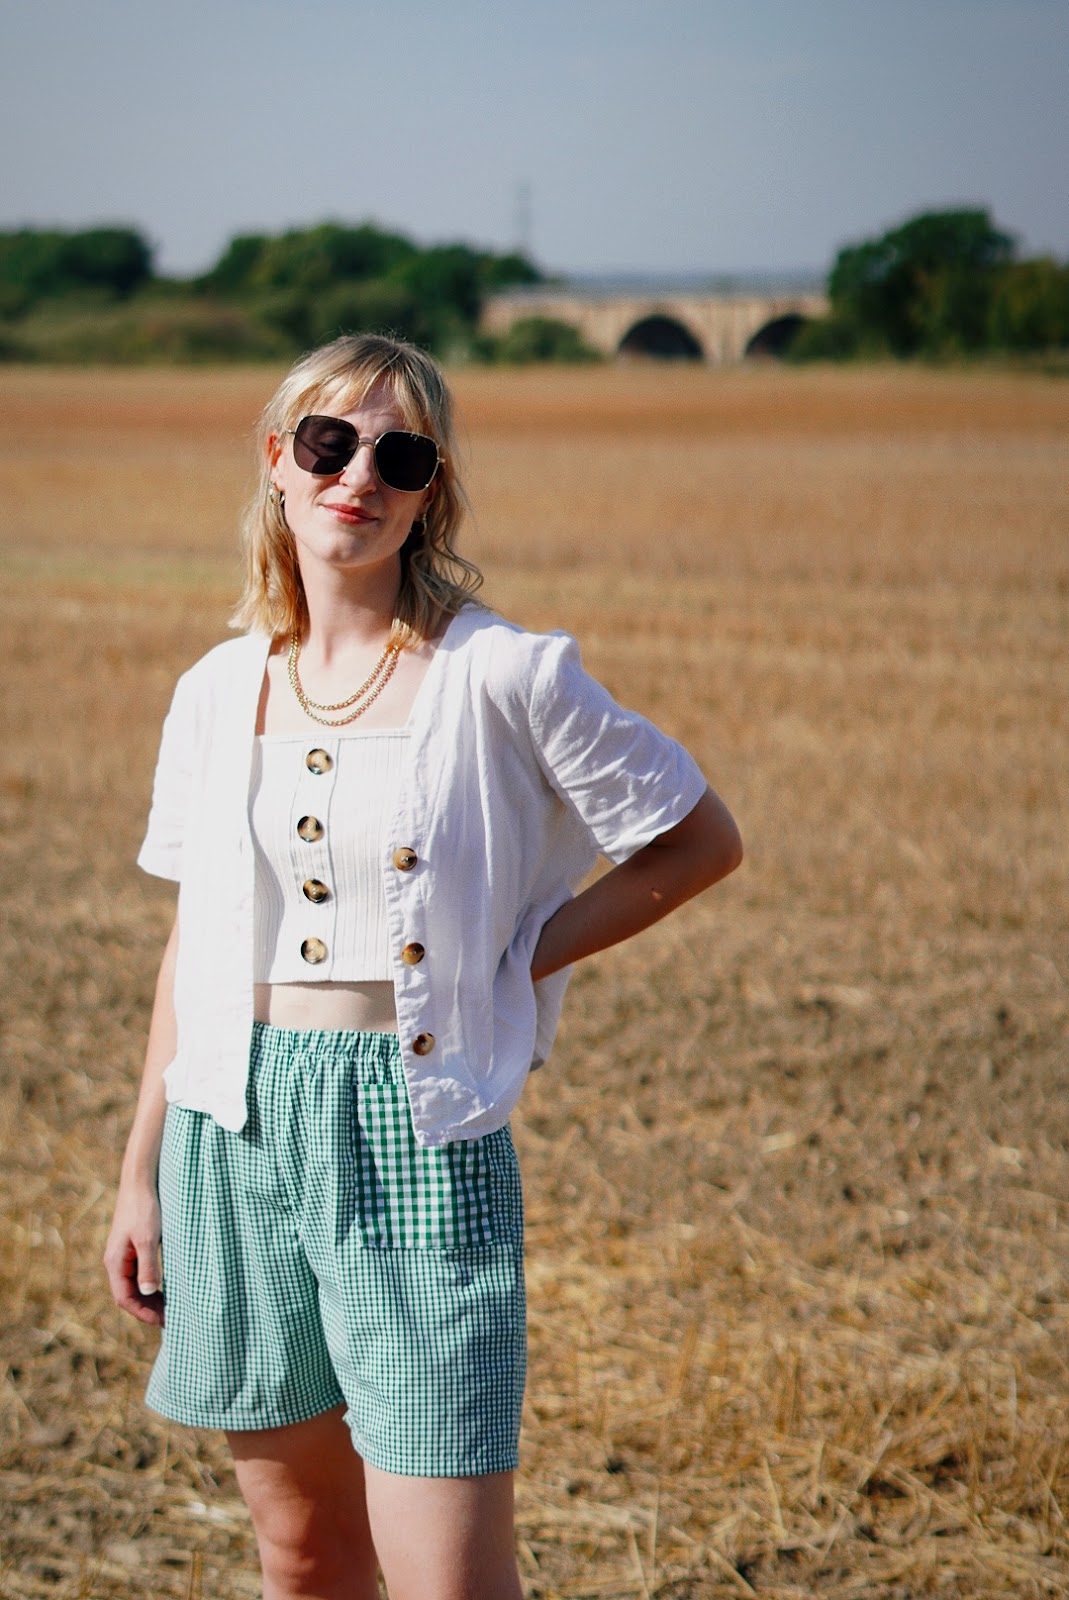
4: Use the Canva app to drop images onto your squares. This is the step that I think makes me a genius because I'm able to do it on my phone, using any image without relying on a computer and without planning my feed in advance, which is what put me off a collage grid. I created an Instagram post in Canva, then for each post I pop the correct image in the background then import whichever photo I want to use as a logo so I can pop it on top. Because all my photos are squares I have a stock square photo underneath all mine so I can make them all the same size. Obviously make sure the photo you drop onto the background is already edited exactly how you want it because if you tweak it afterwards it could throw your background colours off.
5: Save and post your photo! Export to your camera roll, post to Instagram and watch your feed grow into a pretty background!
Let me know if you've tried or are going to try something similar!
Amy x
Oh what a fun way to edit your instagram photos! the backdrop looks beautiful,and while it seems a bit complicated to setup it's great once it's done you can just use the little images you made and not need to refer back to the grid all the time :)
ReplyDeleteHope that you are having a wonderful weekend! I spent some time shopping yesterday which was lovely :)
Away From The Blue Blog
Thank you! It's so easy now it's set up and it was actually quite quick to set up too :) xx
DeleteI've been meaning to tell you how much I love your new Instagram layout! It's so creative and unique; I've not seen a layout like that before - totally reflects your personal taste too; very botanical, fresh and authentic :)
ReplyDeleteGabrielle | A Glass Of Ice x
Aw thanks Gabrielle! I knew you would be a fan! xx
DeleteAhh, what a cool idea! It looks so effective and pretty!
ReplyDeleteHave a lovely weekend :)
Rosanna x
Rose's Rooftop
Thanks so much Rosanna :) hope you have a lovely weekend xx
DeleteThanks for the tutorial ! It's really handy, dear.
ReplyDeleteI'm a new follower, hope you can check my blog and maybe follow each other. ❤️
xoxo,
www.atwednesdaysiwearpink.blogspot.com